
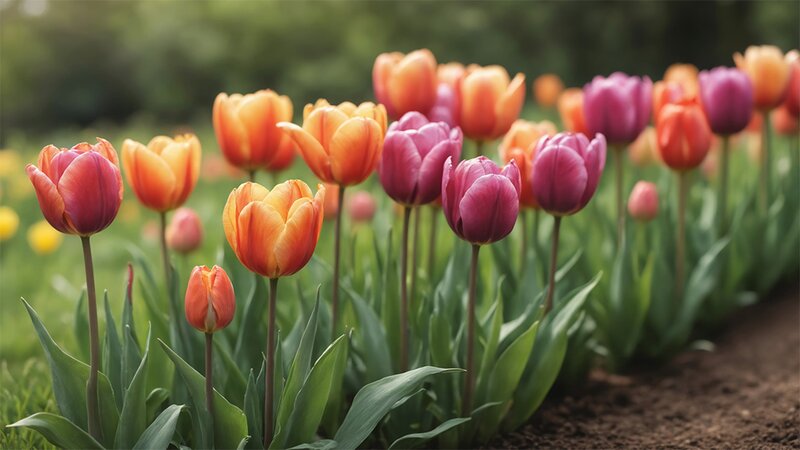
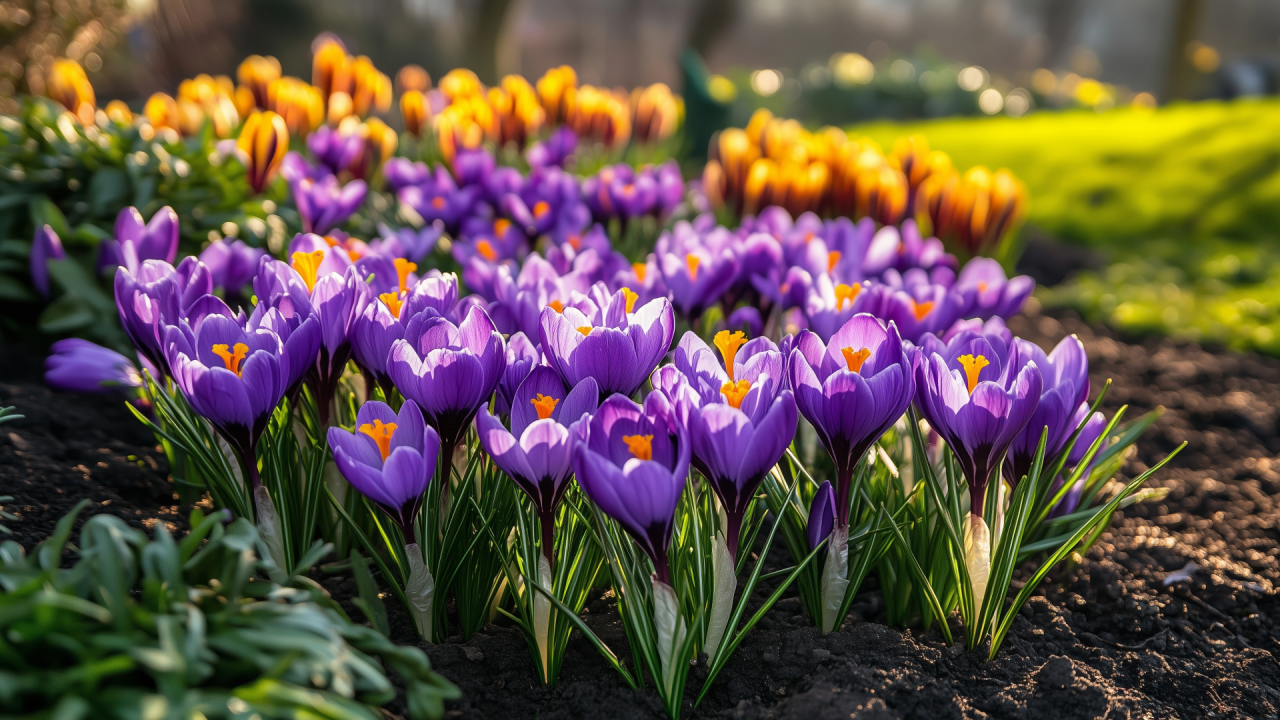
Planting bulbs is one of the easiest ways to infuse vibrant seasonal color into your garden beds and containers. And now is the perfect time to get started! Whether you're dreaming of a field of tulips, a carpet of daffodils, or a rainbow of fragrant hyacinths, following these key tips will ensure your garden bursts with beautiful blooms come spring.
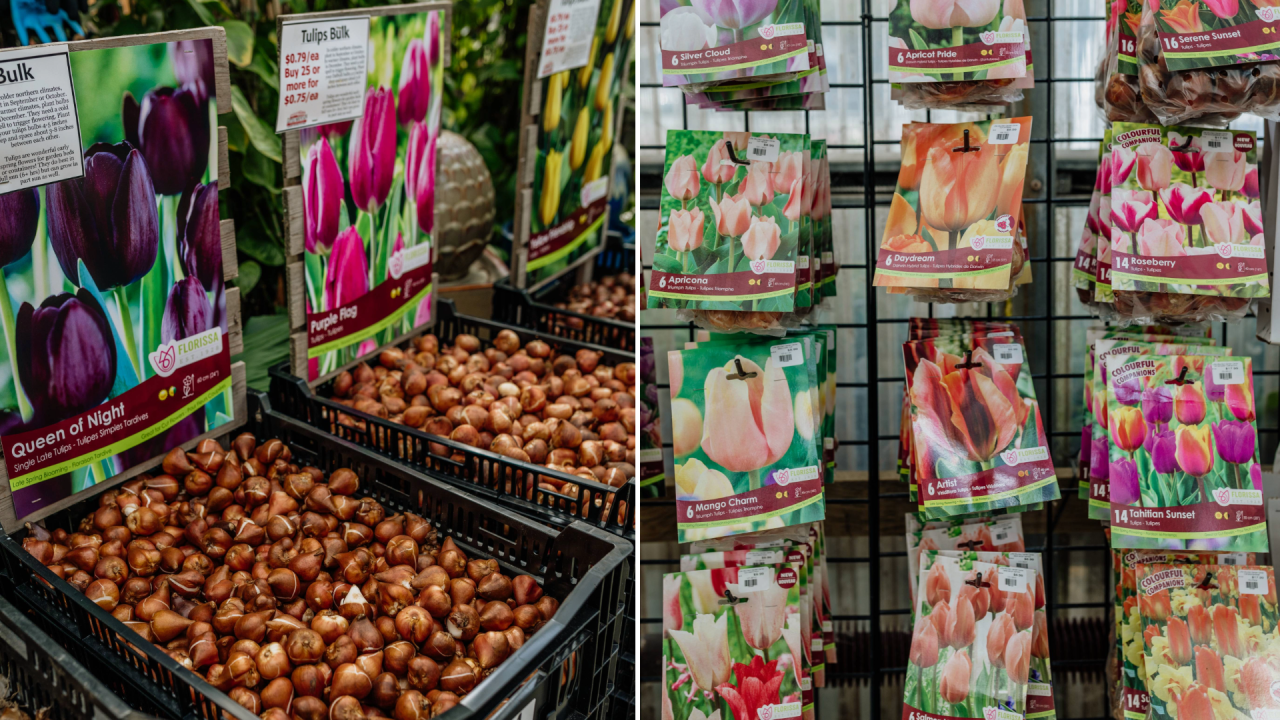
1. Choose High-Quality Bulbs
Start with the best! At LMG, we carry bulbs from Florissa, top-quality bulbs grown in Canada that are specially adapted to thrive in our climate.
2. Pick the Perfect Spot
Even the healthiest bulbs won't bloom if planted in the wrong place. Most bulbs thrive in full sun (at least 6 hours of direct sunlight) and well-drained soil. Be sure to research the specific needs of the bulbs you’re planting to find the best location.
3. Plant at the Right Time
Timing matters! The ideal time to plant bulbs is September through October, when the soil has cooled but hasn’t yet frozen. This gives your bulbs time to develop roots before winter arrives.
4. Plant Bulbs at the Right Depth
A common question is, “How deep should I plant my bulbs?” As a general rule, plant them 2-3 times deeper than the bulb’s height. For example, a 3-inch-tall bulb should be planted 6-9 inches deep. Be sure to follow the specific directions included with your bulbs for the best results.
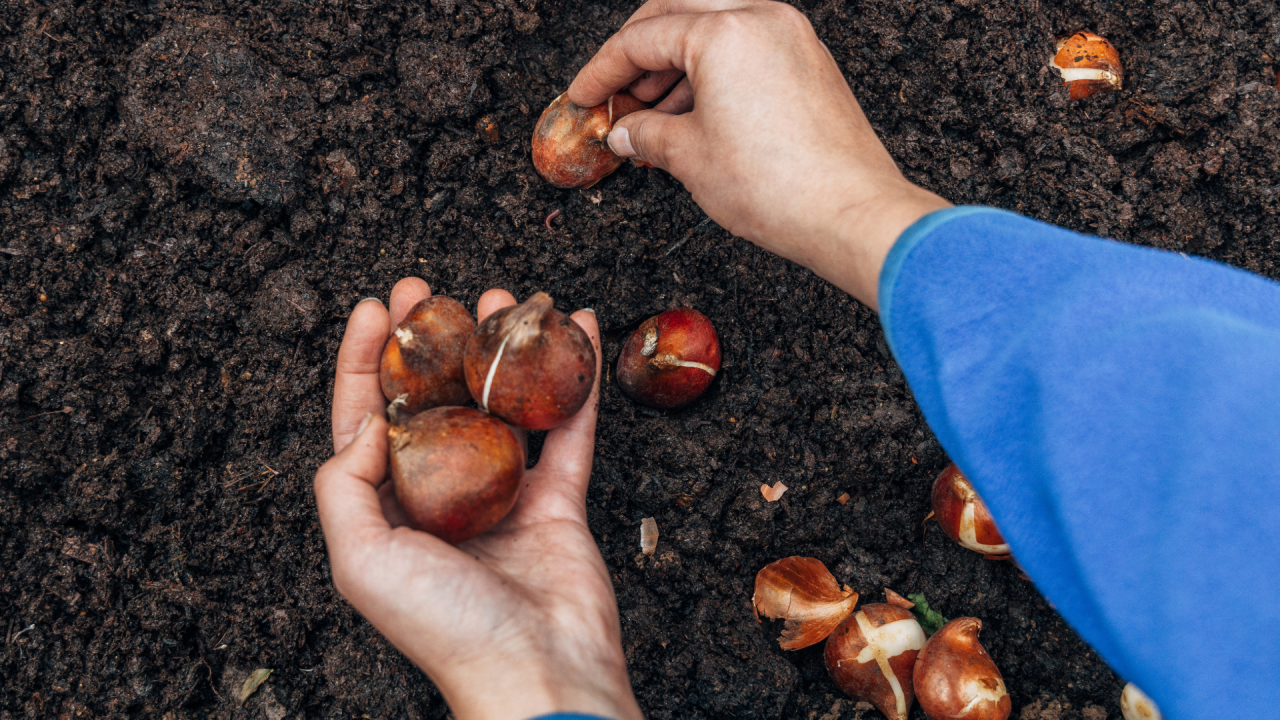
5. Pointy Side Up!
Not sure which end of the bulb faces up? If it has a pointed tip, that’s the side that should be facing skyward. If you don’t see a point, look for the root base—this end should go down.
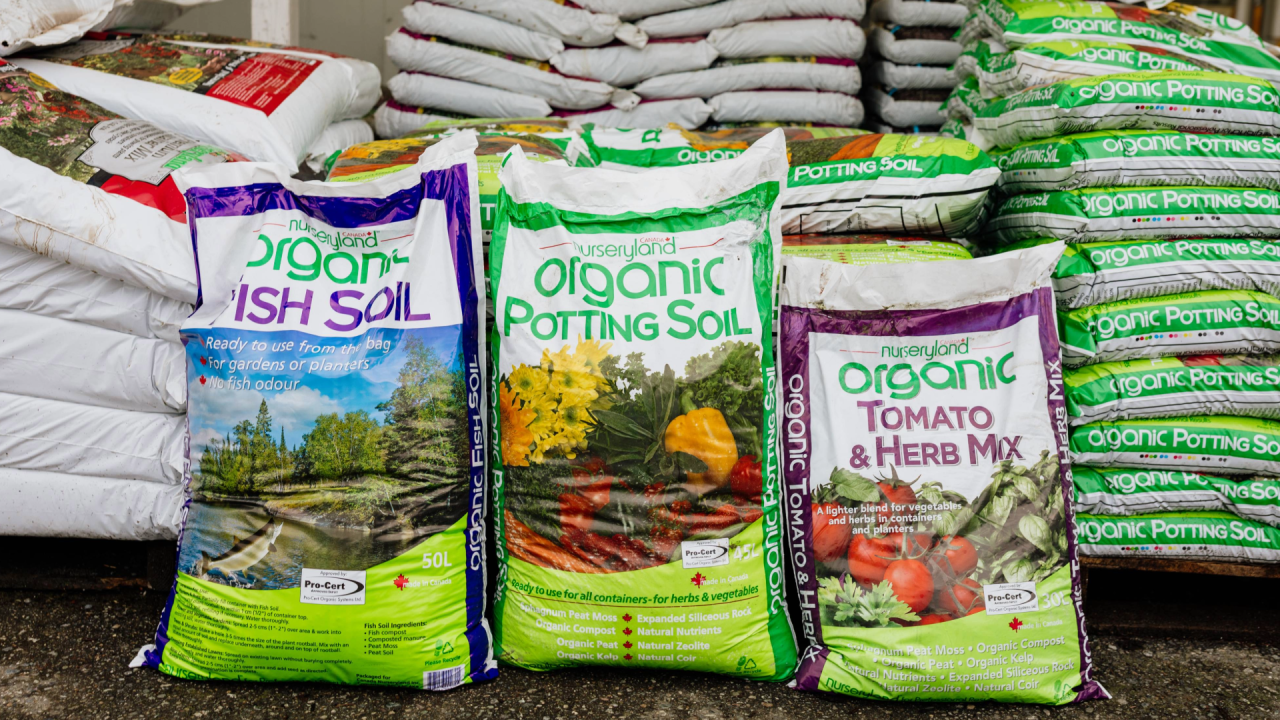
6. Use the Right Soil
Good soil makes all the difference! We offer high-quality soil from NurseryLand, formulated specifically for Western BC’s climate and packed with the nutrients plants need. Talk to one of our garden experts to find the best soil for your project.
7. Feed Your Bulbs for Success
Help your bulbs thrive with NurseryLand Organic Bone Meal 2-13-0, a slow-release fertilizer made for our local conditions. This all-natural food nourishes bulbs over time, ensuring strong, healthy plants.
How to Use:
- Mix ¼ lb of bone meal into the soil at the bottom of the hole.
- Cover with soil before placing your bulb.
- Plant, pack the soil firmly, and water thoroughly.
Find this fertilizer next to our bulb display!
8. Water Thoroughly
After planting, give your bulbs a good drink to help them settle and start growing roots. Proper watering also eliminates air pockets in the soil, preventing bulbs from drying out.
9. Plant in Groups for Impact
For the most impressive display, plant bulbs in large, irregular clusters rather than in straight rows. Try tossing the bulbs on the ground and planting them where they land for a natural, layered effect. Don’t worry if some bulbs are a little closer together than recommended—it will add to the charm!
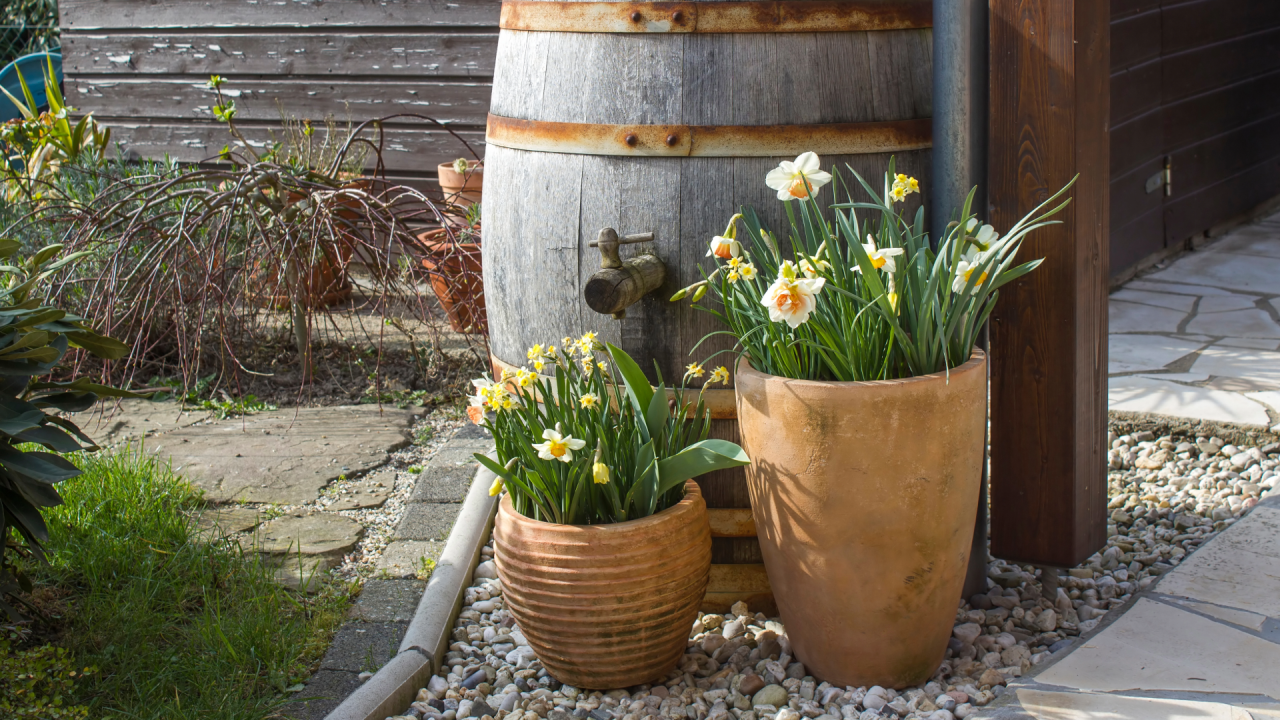
10. Don’t Forget Containers!
Bulbs do just as well in containers as they do in garden beds. Create pots of spring joy with tulips, daffodils, and hyacinths. To help them bloom, sink the pots into the ground over winter to protect the bulbs from freezing temperatures.
11. Get Ready for Spring Blooms!
There’s nothing better than watching your garden come to life after a long winter. Plan a visit to LMG, explore our selection of premium bulbs, and start planting for a breathtaking spring display. With a little effort now, you'll enjoy months of colorful blooms that will make all your winter waiting worthwhile!


